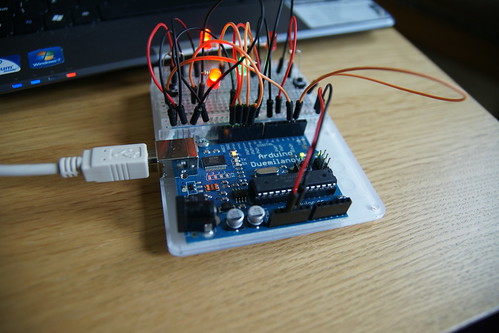
Arduino board
I had seen these little boards before and Neil and I had been talking about the possibilities, but I hadn't really thought of any project to justify buying one, but last week Neil mentioned that the Sony Alpha shutter release trigger is activated quite simply by shorting two wires and so it's possible to set up timelapse/sound triggers quite easily.
So ... I had a look about for some way of controlling electronics easily from a PC. This is pretty much what two thirds of my fourth year disseration was at uni, but at the time, the easiest way to interface with the PC was via the parallel port, which has died a death in the years since. So after looking for some solutions on line, it became clear that one of these little microprocessor boards would be ideal and would also give me a little more flexibility.
I went for Arduino simply because I had seen it before and knew it was open source and had seen some cool projects.
I got the board in a starters kit from oomlout.co.uk/, which comes with the board, a breadboard for prototyping, and some basic components (LEDs, resistors, switches, potentiometers and a photo resistor). Oomlout shipped the device the same day and I had it yesterday morning.
Downloading the software is simple enough and the development environment is easy to use and easy to sync with the board and also includes some examples to get you started. There are some annoying things about the code editor, but they're not major.
After playing with the blinking LED programs and getting the switches to trigger events, I had run out of stuff to do with the limited set of components I had. I had also been unsuccessful in finding the right bits and bobs to connect the camera up to test the shutter release cable, but hopefully I'll get some more components next week and be able to do some more things with it.
I have managed to knock up a little game which pits two players against each other in a test of responses. It involves waiting for a light to come on after a random interval and then having to press your button, the first to press the button wins. It's pretty easy to make, with 4 LEDs connected to for of the Arduino's digital pins and two switches connected up as well.
Source Code if anyone's interested. Hopefully with some more parts I can make something a bit more interesting.
posted by Unknown at 8:56 PM
![]()

0 Comments:
Post a Comment
<< Home